Alright, folks, gather ’round! Today, I’m gonna share my little adventure of making a constellation quilt. I’ve always been fascinated by the stars, you know, the whole cosmic vibe. So I thought, why not bring a piece of that into my home? And that’s how this project was born.
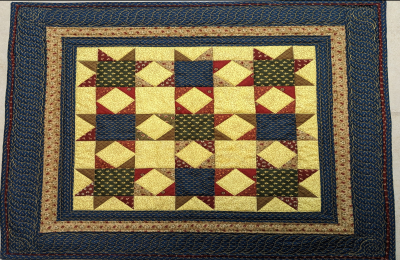
First things first, I needed to get my hands on some fabric. I hit up a few local stores, feeling the textures, imagining the final product. Ended up with a bunch of dark blues and blacks for the background, to mimic the night sky. Then I picked some lighter shades, you know, for the stars and constellations. It was like being a kid in a candy store, but for fabrics!
Next up, I had to decide which constellations to include. I mean, there are so many! After flipping through some astronomy books and browsing online, I settled on a few of my favorites: Orion, Ursa Major, Ursa Minor, and Cassiopeia. I sketched them out on paper, trying to figure out the best way to arrange them on the quilt.
Cutting and Sewing
With the design somewhat figured out, I started cutting the fabric. This was a bit tricky, especially for the small star pieces. I used a rotary cutter and a ruler, trying to be as precise as possible. It’s like, one wrong move and your star looks more like a blob. But hey, no pressure, right?
- Cutting the background: This was relatively easy, just large rectangles of the dark fabrics.
- Cutting the stars: This was the hard part. I ended up making templates out of cardboard to help with the shapes.
Then came the sewing. I started by sewing the background pieces together, creating the base of the quilt. After that, I began the long and sometimes tedious process of attaching the stars. I opted for hand-stitching, using a simple backstitch. It took forever, but I liked the handmade look it gave the quilt.
Adding the Constellations
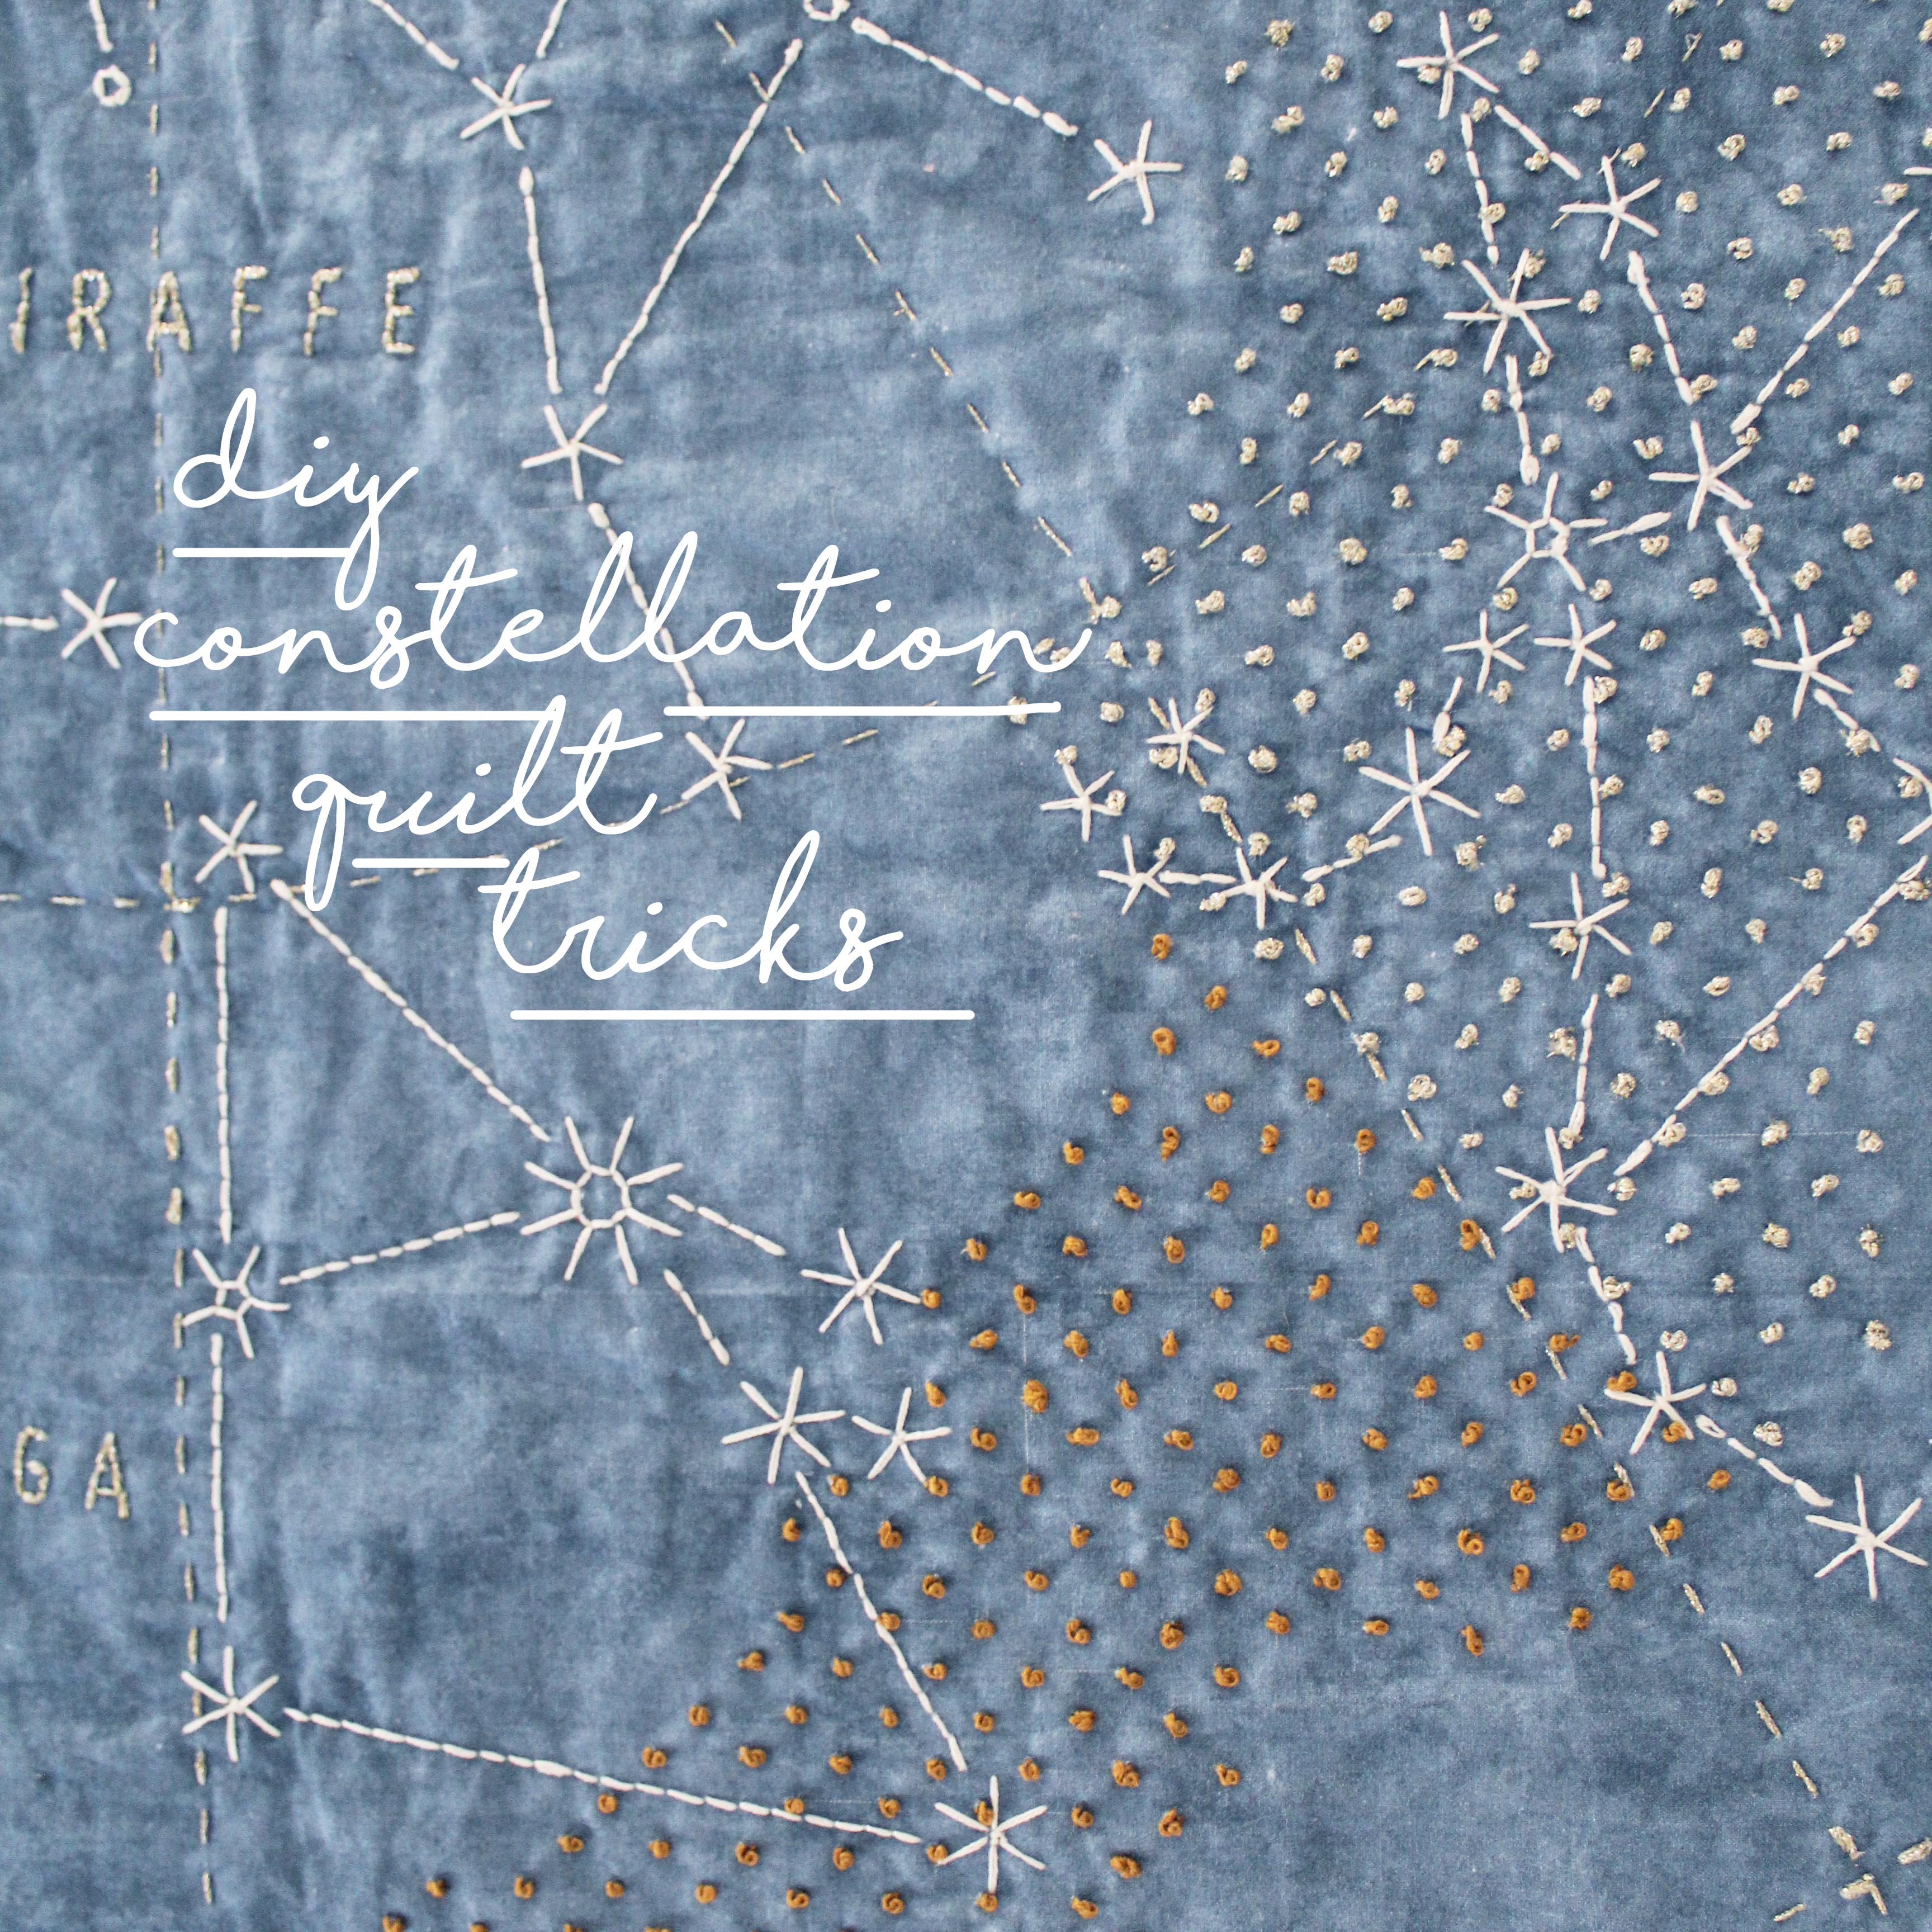
Once all the stars were in place, I used some white thread to connect them, forming the constellations. This was like drawing with thread, and I found it pretty satisfying. Watching Orion take shape on the fabric was definitely a highlight.
Finishing Touches
After all the constellations were done, I added a border to the quilt, using some leftover fabric. I also added a layer of batting and a backing fabric, turning it into a proper, cozy quilt.
Finally, I quilted the whole thing, sewing through all the layers to keep everything together. I chose a simple straight-line pattern, just going around the constellations. I wanted the focus to be on the stars, not the quilting.
And there you have it! My very own constellation quilt. It’s not perfect, there are a few wonky stars here and there, but I love it. It’s a little piece of the night sky, right here in my living room. Plus, I made it with my own two hands, and that’s something special. If you’re thinking about making your own quilt, I say go for it! It’s a fun, rewarding project, and you end up with something unique and personal. Just be prepared to spend a lot of time with your sewing machine!


