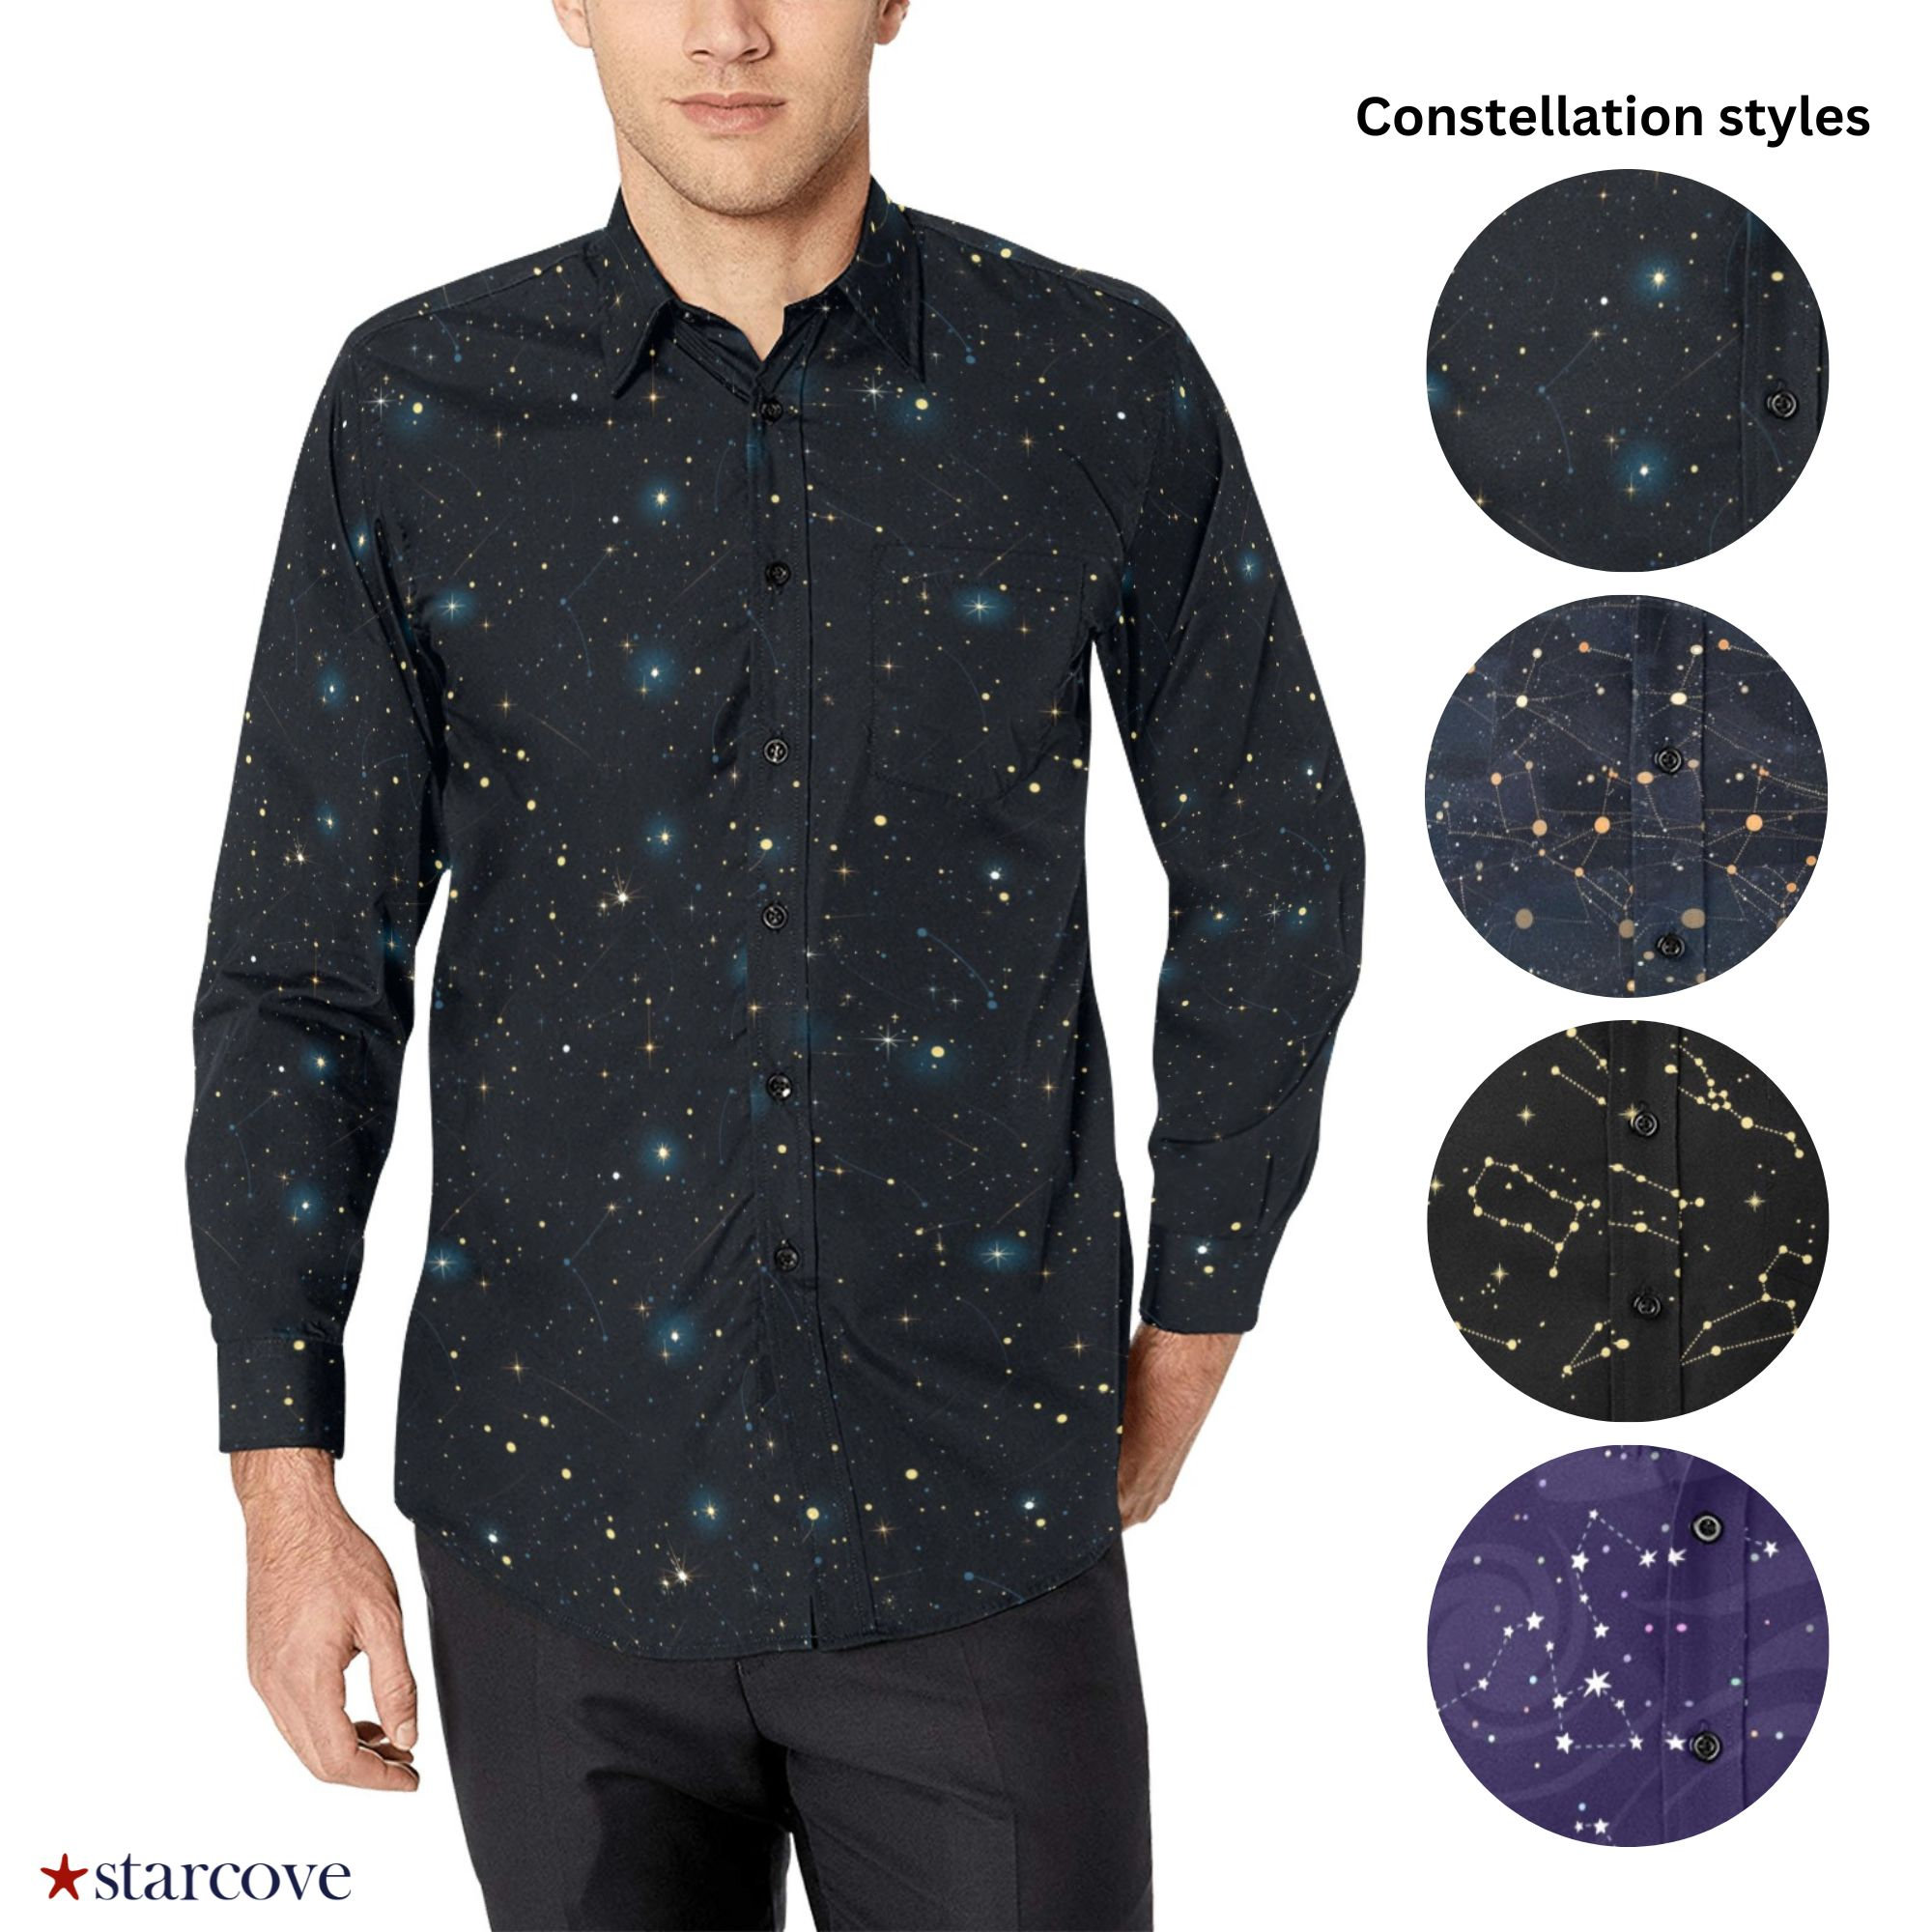
Okay, so I’ve been wanting to make a constellation shirt for a while, you know, one of those shirts with the star patterns on it. I finally got around to doing it, and let me tell you, it was a bit of a ride.
Finding the Right Shirt
First, I needed a plain black shirt. Sounds easy, right? Nope. I went to like three different stores before I found one that was the right material and fit. I wanted something soft, not too stiff.
Gathering Supplies
Then, I needed the stuff to actually make the constellations. I got some:
- Fabric paint (glow-in-the-dark, obviously!)
- A thin paintbrush
- Some chalk (for sketching the design)
- A star chart (because I’m not an astronomer)
Sketching the Design
This was the tricky part. I laid the shirt out flat and started sketching out the constellations with the chalk. I picked a few of my favorites, like Orion and the Big Dipper. It took a few tries to get them looking right, and let me tell you, my floor was covered in chalk dust by the end.
Painting the Stars
Once I was happy with the chalk outline, I started painting. I used the thin paintbrush to make little dots for the stars. I tried to make the brighter stars a little bigger, you know, for accuracy. This took forever! My hand was cramping up, but I was determined to finish.
Letting it Dry
After all the stars were painted, I had to let it dry. I hung it up and waited. And waited. It felt like it took a whole day for the paint to completely dry. Patience is not my strong suit.

The Final Result
Finally, it was dry! I turned off the lights, and… it glowed! It actually worked! It wasn’t perfect, some of the lines were a little wonky, but hey, I made it myself. And it looks pretty cool, if I do say so myself.
Now I just need it is nighttime!


