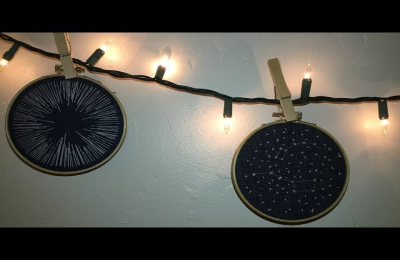
So, I’ve been seeing these super cool constellation embroideries all over Pinterest and Instagram, and I finally decided to give it a shot. I mean, how hard could it be, right? Famous last words.
Getting Started
First, I gathered my supplies. I already had a bunch of embroidery floss and some hoops from previous, half-finished projects. I picked up some dark blue fabric – I thought it would look like the night sky. And, of course, I needed a needle and some scissors.
The Design
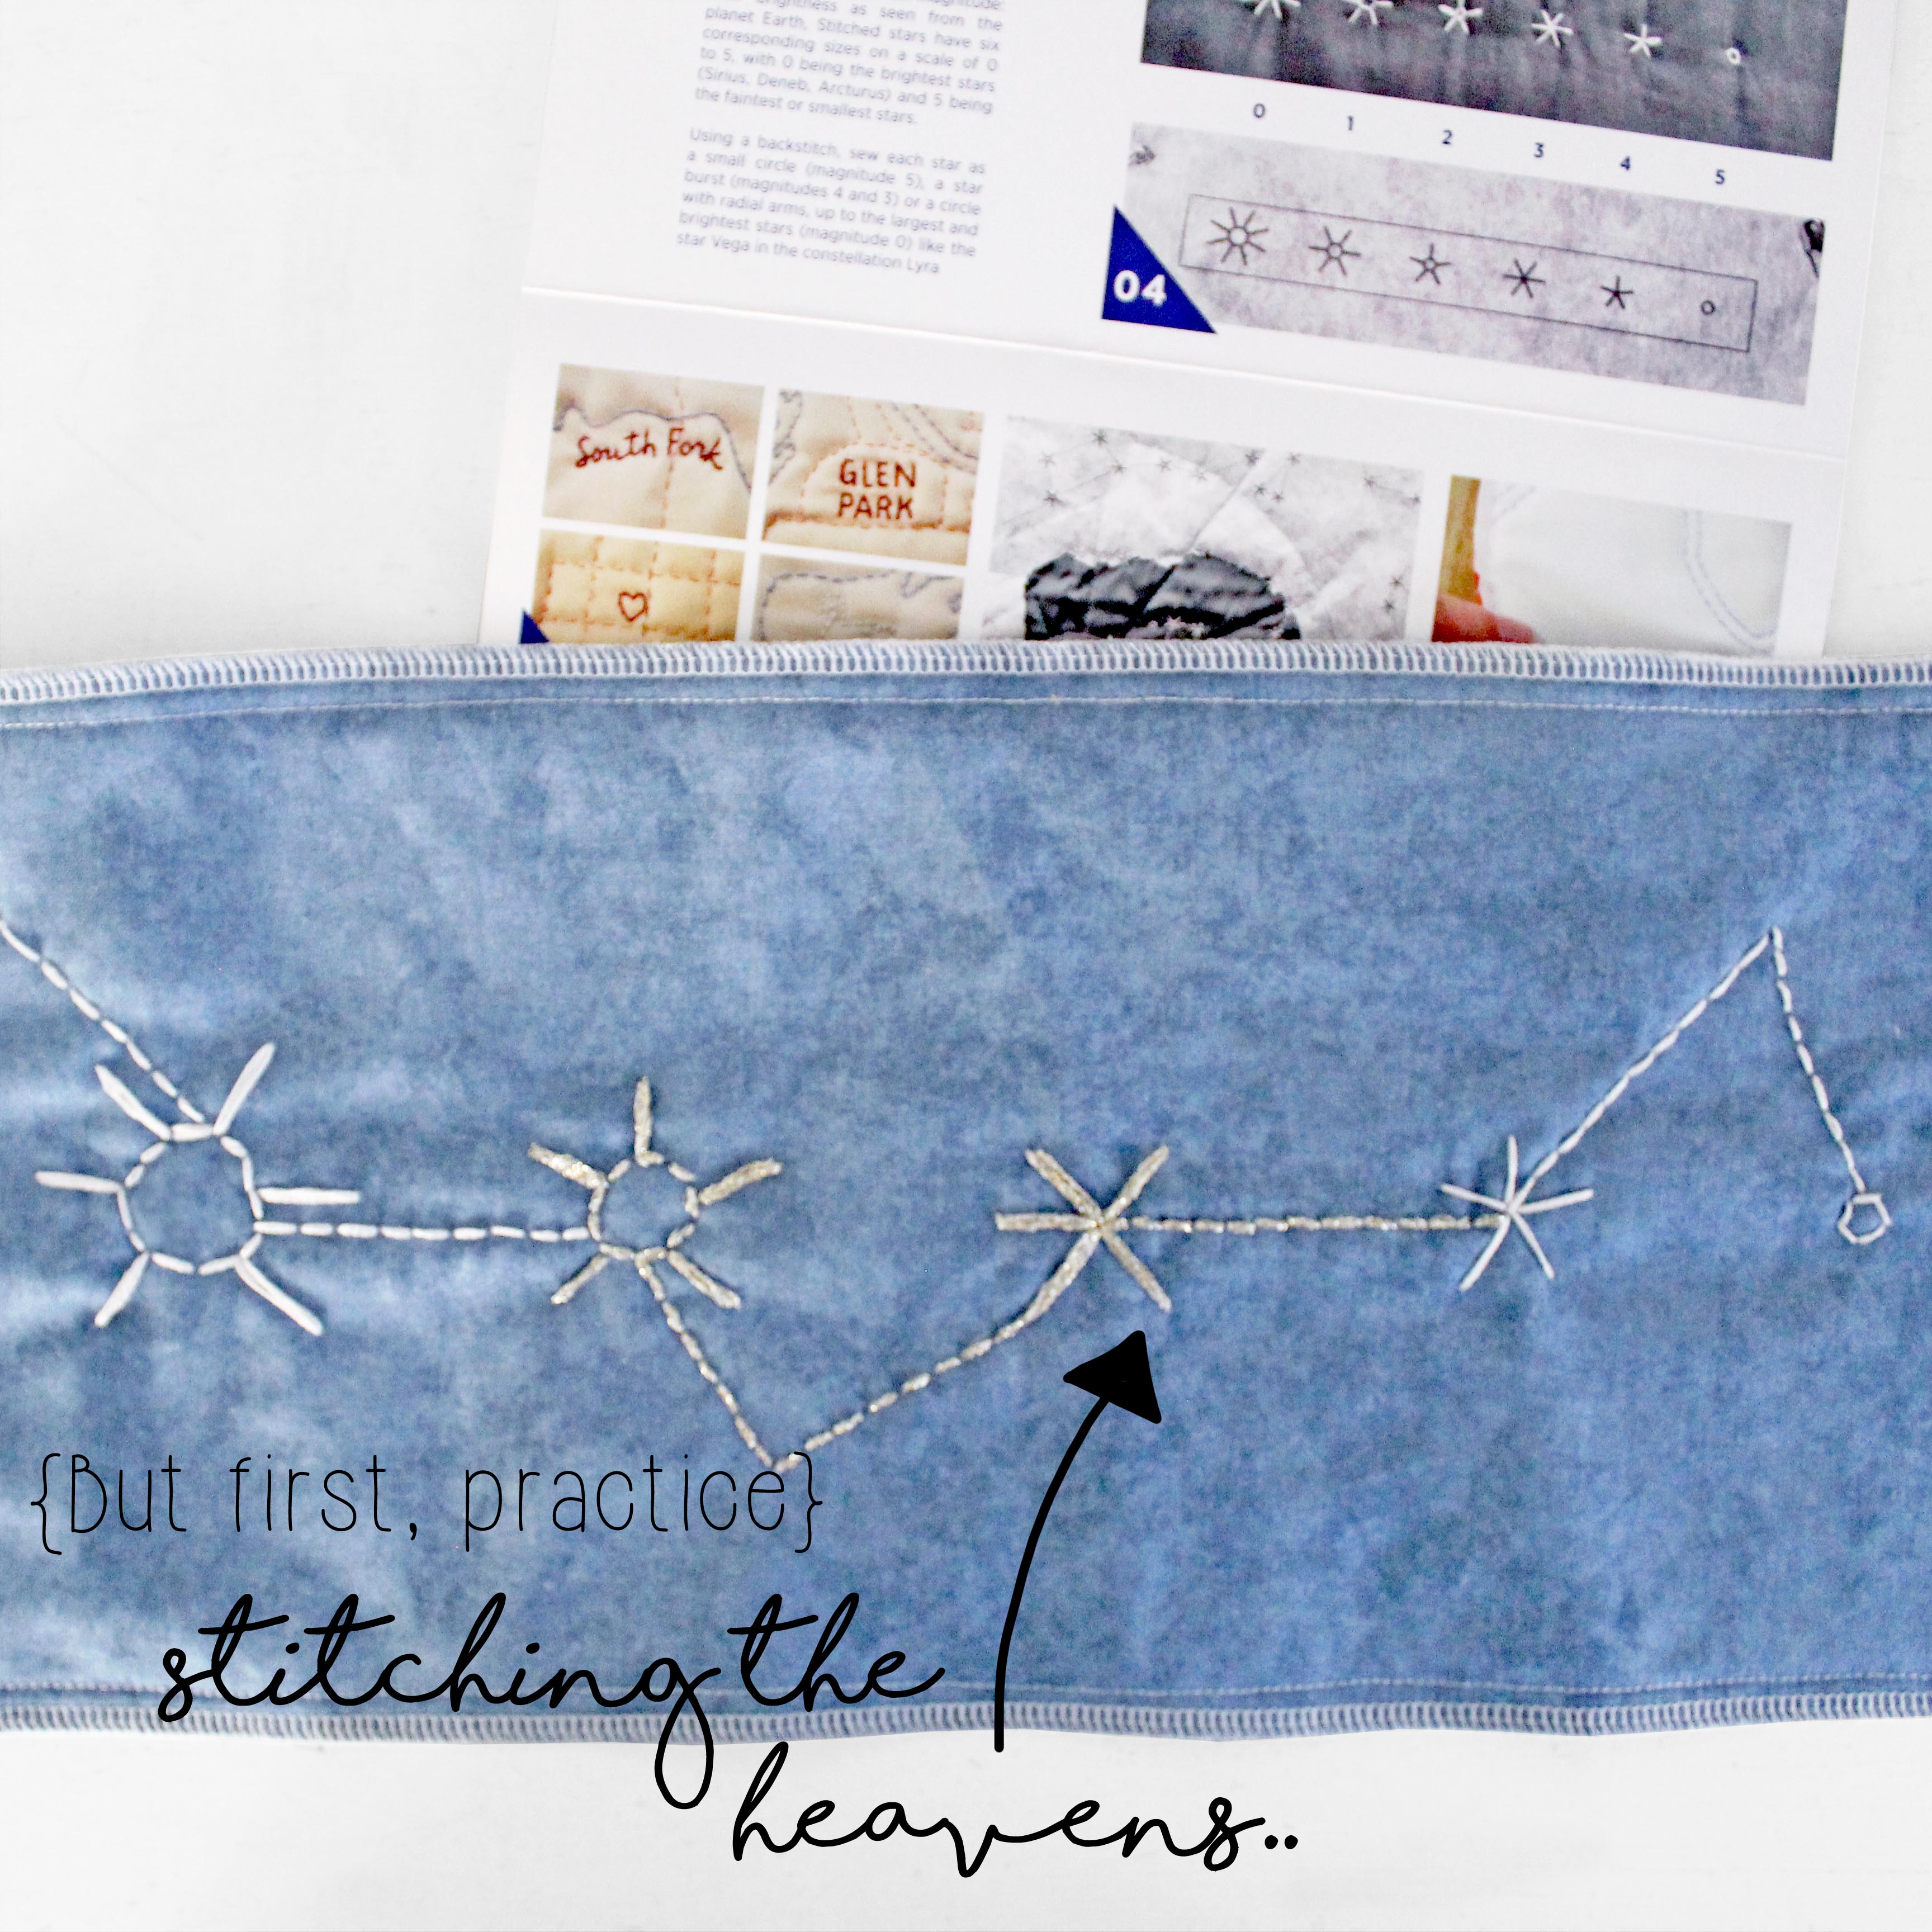
Next up, I had to figure out which constellation to do. I’m a Leo, so that seemed like a good starting point. I googled “Leo constellation” and found a simple diagram. I grabbed a piece of chalk and lightly sketched the pattern onto my fabric. It looked… okay. A little wobbly, but I figured I could fix it with the stitching.
Stitching Time!
This is where things got interesting. I threaded my needle with some white floss and started with a basic back stitch. I quickly realized that keeping the lines straight and the stars evenly spaced was way harder than it looked. My Leo started to look more like a lopsided square with some random dots.
I kept going, though. I added some French knots for the bigger stars, which was actually kind of fun. They looked a bit messy, but hey, stars aren’t perfect, right?
- Tip 1: Use a smaller hoop than you think you need. It makes it easier to control the fabric.
- Tip 2: Don’t be afraid to unpick your stitches! I did this a LOT.
- Tip 3: French knots are your friend. They’re great for making stars.
- Tip 4: Be patient.
The (Almost) Finished Product
After a few hours (and a couple of minor meltdowns), I finished my constellation embroidery. It’s definitely not perfect. The lines are a bit wonky, the stars are uneven, and it looks more like a child’s drawing than a masterpiece. But you know what? I made it. And I actually kind of like it. It’s got character, right?
I’m already thinking about trying another one. Maybe Orion next time? Or maybe I’ll just stick to simple shapes for a while…


