Okay, so I’ve been wanting to do this for a while, and today I finally sat down and made a constellation worksheet. It was a bit trickier than I thought, but pretty fun overall!
First, I gathered all my materials. I grabbed some black construction paper, a white gel pen, a ruler, and some star stickers I had lying around. I also pulled up a bunch of constellation charts online to use as references.
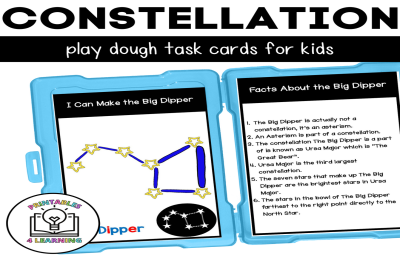
I decided to start with the Big Dipper because, well, it’s the Big Dipper! Everyone knows that one, right? I used my ruler to make sure the distances between the stars were somewhat accurate – didn’t want it looking all wonky.
- I marked the seven main stars of the Big Dipper with my white pen.
- Then I connected them with straight lines to form the shape of the dipper.
- I added some star stickers around it, just to make the whole thing look a little more, you know, sparkly.
Next up, I tackled Orion. This one was a bit more complicated, with all those stars in his belt and the ones forming his shoulders and feet. I used my online charts as a guide and carefully plotted out each star. Connecting them all was like doing a super-advanced connect-the-dots puzzle!
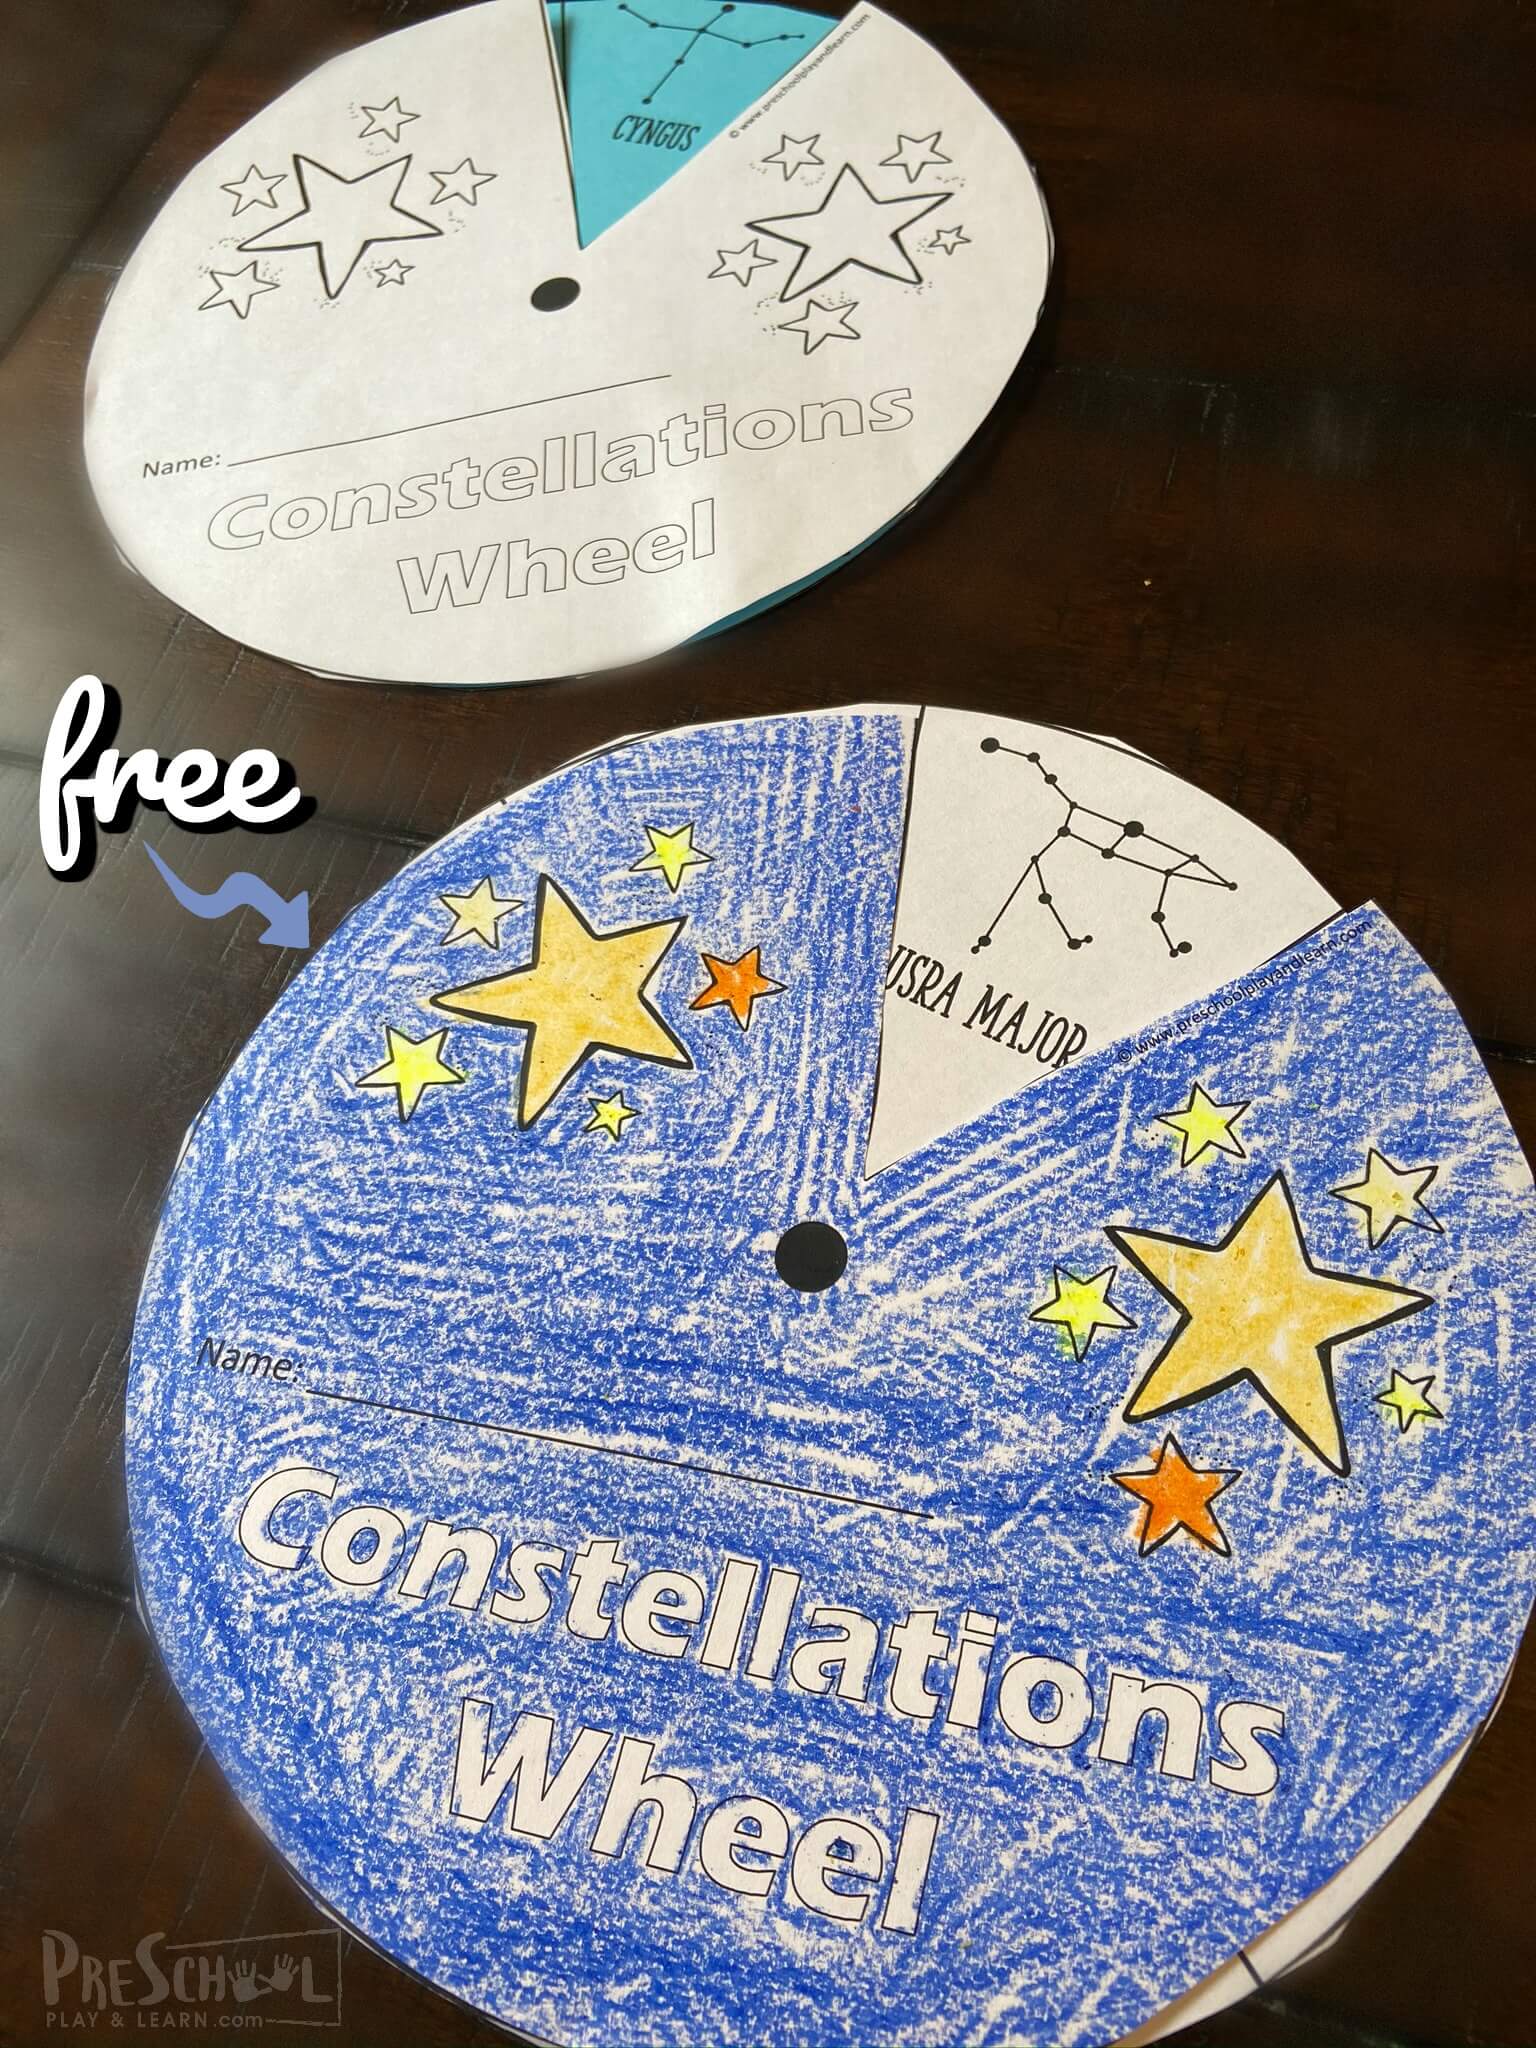
I kept going, adding more constellations to my worksheet. I did Ursa Major, Ursa Minor (which has the North Star, pretty cool, huh?), Cassiopeia, which looks like a big “W”, and a few others. By the end, my black paper was covered in white lines and star stickers.
Feeling of Finishing
It took me a good chunk of the afternoon, but I was pretty stoked with how it turned out. It’s not perfect, of course, but it’s my own little handmade guide to the constellations. Now I can take this outside on a clear night and try to find these star patterns in the actual sky. I think it’ll make stargazing way more interesting when I can actually recognize what I’m looking at!
If you like this kind of thing, you really should try to make your own, it is so interesting!


