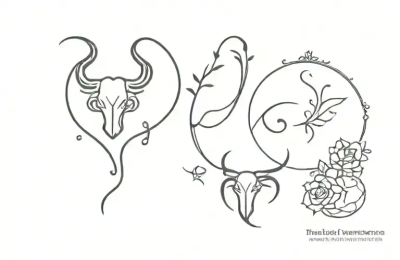
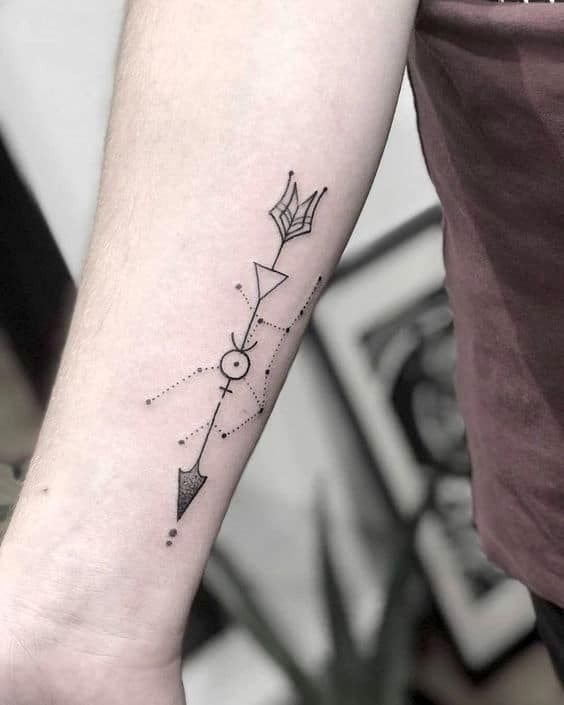
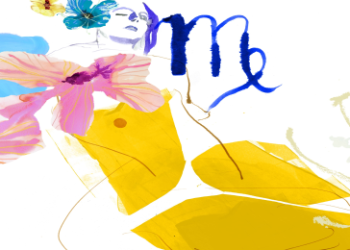
Okay, so I’ve been thinking about getting a tattoo for a while now. I’m a Virgo, and I wanted something simple, you know, minimalist. Not some huge, elaborate design. Just something small and meaningful.
The Design Process
First, I scoured the internet. I looked at tons of pictures of Virgo constellation tattoos. Some were way too detailed, others were just… boring. I wanted something that felt like me.
Then I started sketching. I’m no artist, but I grabbed a pencil and paper and started doodling. I tried different arrangements of the stars, different line thicknesses… it was a mess, honestly. But it helped me figure out what I didn’t want.
- Too many stars? Nope.
- Too thick lines? Uh-uh.
- Too… literal? Nah.
Eventually, I simplified it down to the basic constellation shape. Just a few connected dots, forming that familiar “M” shape. That’s it. Perfect!
Finding the Right Artist
Next up, I needed to find a tattoo artist. I asked around, checked online reviews, and visited a few shops. I wanted someone who understood the minimalist aesthetic. Someone who wouldn’t try to talk me into something bigger or flashier.
Finally I found the perfect artist that had done work before that I loved.
I showed her my rough sketch, and she cleaned it up, made the lines crisp, and helped me choose the perfect placement on my wrist.
Getting Inked
The day of the tattoo, I was a little nervous, but mostly excited. The artist prepped my skin, applied the stencil, and then… the buzzing started. It didn’t hurt as much as I thought it would. It was more like a… scratching sensation.
It was over pretty quickly. The whole thing probably took less than 30 minutes. And when I looked in the mirror, I loved it! It was exactly what I wanted. Simple, elegant, and totally me.
It’s been a few weeks now, and I’m still so happy with it. It’s a little reminder of my star sign, and a little piece of art that I get to carry with me everywhere.


