
Okay, here’s my take on the “San Gemini Preservation Studies” experience, written in a casual, blog-style format:
So, I decided to get my hands dirty with this whole “San Gemini Preservation Studies” thing. I’d heard about it, seen some pictures, and I was like, “Yeah, I wanna try that!” I’m no expert, just someone who likes to learn by doing, you know?
First, I started to prepare for my trip to Italy. I didn’t really know much about San Gemini. so I began to reasearch some info. I needed to prepare.
Then I started digging around. Finding information wasn’t super easy at first. It’s not like googling “best pizza in Rome” – this is niche stuff. I started with, you guessed it, Google. Just typed in “San Gemini Preservation Studies” and poked around the results. Found some official-looking websites, a few articles, and some student testimonials – those were gold!
Initial Research and Stumbling Blocks
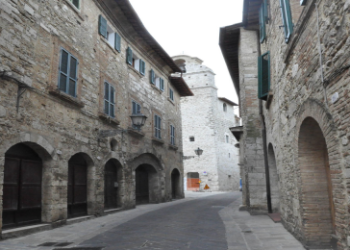
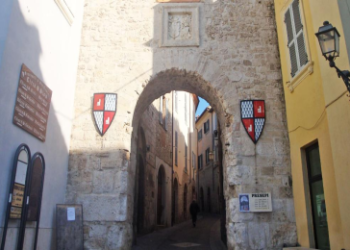
I spent a good few days just reading. Reading about the history of San Gemini (it’s a ridiculously old town in Italy, by the way), the kinds of projects they do (restoring old buildings, preserving frescoes, that kind of thing), and the practical stuff (costs, accommodation, what to pack). It was a bit overwhelming, to be honest. There’s so much history there, and I felt like I was barely scratching the surface.
- Problem 1: Finding clear, concise information. Some websites were… let’s just say “not user-friendly.”
- Problem 2: Figuring out which program was right for me. There are different focuses, different lengths, different skill levels.
Getting My Hands Dirty (Literally)
I finally decided on a shorter course focused on architectural preservation. I’m a visual person, I like buildings, so it seemed like a good fit. I booked it, packed my bags (lots of sturdy shoes and clothes I didn’t mind getting dirty), and off I went!
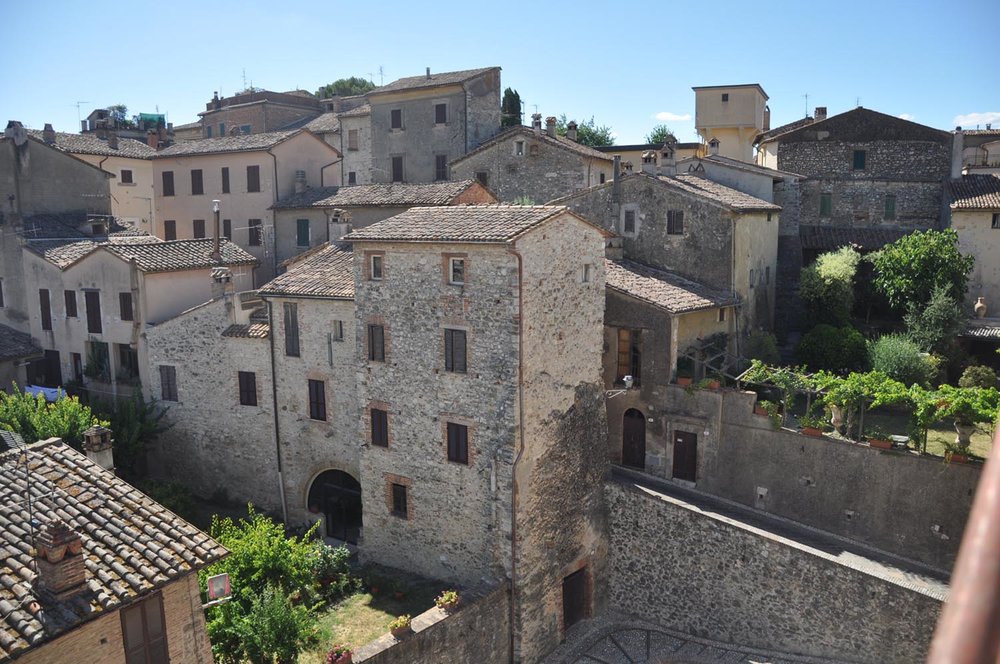
The first few days were a whirlwind. We got introduced to the town, the local experts (super passionate people, by the way), and the tools of the trade. I learned about different types of mortar, how to identify different building styles, and the importance of, like, really looking at a building before you touch it.
We spent a lot of time on-site. One day we were examining the walls of a medieval church, trying to figure out how it was built and what repairs it had undergone over the centuries. Another day we were carefully cleaning a section of a fresco, using tiny little brushes and solvents. It was painstaking work, but also incredibly rewarding. Seeing the colors come back to life under your fingertips… that’s pretty cool.
The “Aha!” Moment
There was this one moment, I remember it clearly. We were working on a section of wall that had been damaged by water. We had to remove the damaged plaster, mix new mortar (which is way more complicated than it sounds!), and then carefully apply it to the wall. It was messy, it was tiring, and at one point I thought I’d completely messed it up.
But then, one of the instructors showed me a little trick with the trowel, how to get the right angle and pressure. And suddenly, it clicked. The mortar went on smoothly, it looked right, and I felt this huge sense of accomplishment. Like, “I actually did that!”
Wrapping Up
The whole experience was a huge learning curve. I definitely made mistakes, got frustrated, and questioned my abilities more than once. But I also learned a ton, met some amazing people, and got to contribute (in a very small way) to preserving a piece of history.
Would I do it again? Absolutely. Would I recommend it to others? Definitely, but with a caveat: be prepared to work hard, get dirty, and be okay with not knowing everything. It’s a journey, not a destination, and that’s part of the beauty of it.


